As winter approaches, many homeowners focus on preparing their homes for colder weather. One area that often gets overlooked, however, is the deck. Your deck faces exposure to the elements year-round, and winter can be particularly harsh on its structure. Failing to winterize your deck could lead to long-term damage, such as cracking, warping, or rotting, resulting in costly repairs.
Winterize your deck to ensure it remains in good condition and extends its lifespan. Here’s a comprehensive guide to help you protect your deck and keep it looking great throughout the colder months.
Step 1: Clear the Deck of Debris
The first step to winterizing your deck is thoroughly cleaning it. Fallen leaves, dirt, and other debris can trap moisture against the surface, which can eventually cause mold, mildew, and even wood rot. Before winter hits, remove all outdoor furniture, grills, potted plants, and other items to fully expose the deck.
Next, sweep away loose debris, paying close attention to areas between deck boards and near railings where buildup accumulates. For any stubborn dirt or mildew spots, use a mild deck cleaner or a mixture of warm water and dish soap. Apply the cleaner with a brush, gently scrub the surface, then rinse it thoroughly with a garden hose.
Step 2: Inspect for Damage When You Winterize Your Deck
Once the deck is clean, take the time to inspect it for any signs of wear or damage. Look for loose nails or screws, cracked or splintered wood, and signs of rot. Any compromised areas can worsen in freezing temperatures, so it’s essential to make repairs before winter sets in.
Replace any damaged or rotted boards and tighten loose hardware. If you notice significant areas of deterioration, you may need to consult a professional to assess the structure’s integrity. Taking care of these issues before winter arrives can prevent small problems from turning into major repairs later.
Step 3: Apply a Water-Repellent Sealant
Protecting your deck from moisture is one of the most critical steps in winterizing it. Water and ice are the biggest threats to its longevity, especially if it’s made of wood. When moisture seeps into the wood, it can freeze and expand, leading to cracks and warping.
Apply a water-repellent sealant to shield your deck from winter moisture. Look for a high-quality, clear, or tinted sealant designed for decks, preferably one that offers UV protection as well. The sealant should be applied when the weather is dry and temperatures are above 50°F.
Start by ensuring the deck is completely dry from the cleaning process. Using a brush, roller, or sprayer, evenly apply the sealant, working along the wood grain. Allow it to dry according to the manufacturer’s instructions, usually 24-48 hours. This sealant will create a protective barrier against moisture, reducing the risk of cracks and warping.
Step 4: Protect Metal Hardware When You Winterize Your Deck
In addition to wood, your deck may also have metal components such as railings, fasteners, and brackets. These can be vulnerable to rust and corrosion in winter weather, especially in areas prone to snow and ice. To prevent rust from forming, inspect the metal parts of your deck and clean them with a wire brush if necessary.
Once the metal is clean, apply a corrosion-resistant spray or coating to the hardware. This will create a protective layer that helps prevent rust. Check for loose or damaged hardware and make any necessary repairs or replacements before winter arrives.
Step 5: Prepare for Snow and Ice
If you live in an area that receives heavy snowfall or frequent ice storms, you’ll need to take extra precautions to protect your deck. Snow and ice accumulation can cause significant damage if left unattended, so having a snow removal plan is crucial.
Use a plastic snow shovel or broom to remove snow from your deck, as metal shovels can scratch or gouge the surface. When removing snow, push it parallel to the deck boards rather than across them to avoid damage. If ice forms on your deck, avoid using salt-based deicers, as they can corrode metal hardware and damage the deck’s finish. Instead, opt for a calcium chloride-based ice melt, which is safer for your deck’s surface.
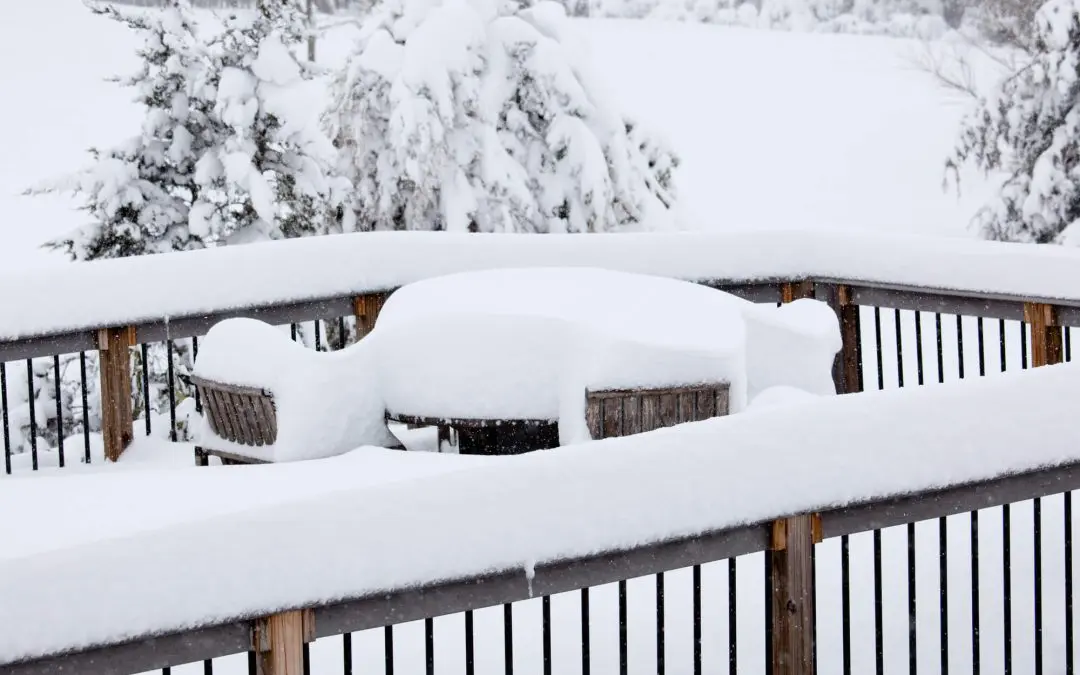
Step 6: Cover or Store Outdoor Furniture
Outdoor furniture, rugs, and other items left on the deck can trap moisture, leading to damage and mold growth. It’s best to store these items indoors during the winter, but if that’s not possible, invest in weatherproof covers designed for outdoor use.
Remove any cushions, rugs, or fabric items from the deck and store them in a dry place. For large furniture pieces like tables and chairs, use waterproof covers to protect them from snow and rain. Secure the covers properly to prevent them from blowing away in strong winter winds.
Step 7: Check for Proper Drainage While You Winterize Your Deck
Ensuring your deck has proper drainage is essential for preventing water buildup, which can lead to wood rot and other structural issues. Check the areas around your deck to make sure water drains away from the structure. Look for pooling water near the foundation, which could seep into the wood.
If you notice any drainage issues, address them before winter arrives. You may need to adjust the grade of the soil around your deck or install a drainage system to divert water away from the structure. Proper drainage will help protect your deck from the damaging effects of winter moisture.
Step 8: Plan for Regular Maintenance
Winterizing your deck doesn’t end once the first snow falls. Regular maintenance throughout the winter will ensure your deck stays in top condition. Keep an eye on snow and ice buildup, and remove it as needed to prevent excessive moisture exposure.
It’s also a good idea to periodically inspect your deck for signs of damage during the winter months. If you notice any cracks, warping, or areas where the sealant has worn away, address these issues promptly once the weather allows.
Winterizing your deck is essential to home maintenance, which can protect your investment and keep your outdoor space looking great for years to come. By following these steps, you’ll safeguard your deck from the harsh winter elements. Taking these precautions now will save you from costly repairs and ensure your deck is ready for enjoyment when the warmer months return.
FAQs
What is the best time of day to apply deck sealant before winter?
The ideal time to apply deck sealant is mid-morning to early afternoon when temperatures are above 50°F. Avoid sealing during early mornings or late evenings when dew might settle, as moisture can affect the sealant’s performance.
Does snow melt damage deck boards?
Snow melt can cause moisture to penetrate the wood if your deck isn’t properly sealed. Over time, this may lead to cracking or rot. Shoveling snow regularly and ensuring your deck is well-sealed before the first snowfall is essential.
How do I know if my deck has adequate drainage for winter?
Proper drainage ensures water doesn’t pool on your deck. You can test your deck’s drainage by spraying water on it and observing where it accumulates. If water pools in certain areas, you may need to adjust the slope of the deck or improve drainage solutions, such as installing a drainage system beneath the deck.
Do composite decks require winterizing?
While composite decks are more resistant to weather damage than wood, they still need maintenance. Clean the surface to remove dirt, leaves, and mildew, and inspect the deck for any damage. Composite decks can also benefit from a protective treatment designed for synthetic materials.
JBS Home Inspections offers inspection services to homebuyers and sellers in the greater Boston area. Contact us to request an appointment.